Email Templates
Templates can make sending out your emails and/or mass mail so much easier! When a template is used/created you can include information about the order and the customer in addition to the sender and the recipient.
Here’s how to do it within Avionte Staffing Software.
New Template
From the Start Page select the Email Main Tree and the Template sub tree. Click the New Template button and the Template Wizard opens.
1. Add a Template Name and Description.
2. Select a Type from the drop-down list.
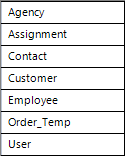
3. the Extra Entities section, select the additional information you want to include from the Type drop-down list. This will enable you to pull the selected type of data from Avionté and include it in the email.
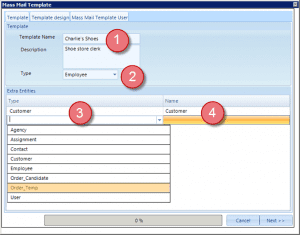
4. Under the Name section, add a name for the Extra Entities type that you chose.
5. Continue to add types and names as needed.
6. Click Next to move to the Template Design tab.
Template Design
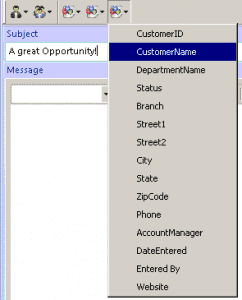
- In the Template Design tab add the Subject of your email.
- You will see additional information icons. The first two provide the Sender and Recipient options. There is one additional icon for each of the Extra Entities types added in the previous screen.
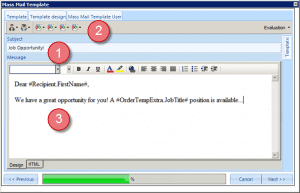 3. Enter your message.
4. From the appropriate icon, add the information codes to be populated within the body.
5. Click Next to move to the Mass Mail Template User tab.
6. Here you can select the Users to share this template with.
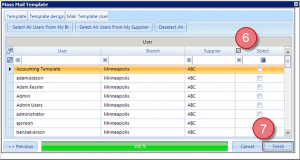
7. Click Finish and you have created and shared a new template!
Stay Tuned! Next week we will discuss using your template with Mass Mail and the new Mass Mail Scheduler available in v 14.2.2+of Avionte Staffing Software.
This content originally appeared in the Avionte Tip of the Week email on August 31, 2015.